Friday, 10 February 2017

Jeffree Star Velour Liquid Lipstick Review - Androgyny and Leo

Hello Loves...

Hope you all are doing good. I am a big fan of matte lipsticks and the liquid lipsticks have really changed the game. Liquid lipsticks are now available in almost all the brands. Recently, I purchased Jeffree Star Velour Liquid Lipsticks in the shades Androgyny and Leo. So, sharing my thoughts on those with you guys in this post.

Packaging


I am in love with its packaging. The bottle comes in a pink cardboard packaging with golden stars on it. A beautiful, girly color. Inside that packaging, comes a glass bottle/tube which is transparent and its cap is again the beautiful pink color with golden stars on it as you can see in the pictures above. Its wand is broad which I really like as it helps in applying the product in one go.

Availability
These are available online only. I got it from beautybay.com
You can also get it from the original jeffreestar.com or beautylish.com

Price
AUD 23 on beautybay.com
USD 18 

My Thoughts On Jeffree Star Velour Liquid Lipsticks

Let's talk about the colors first. Leo is a brown color which will look amazing on Indian skin tone.


Androgyny is a purple-pink kinda color as you can see in the pictures below.


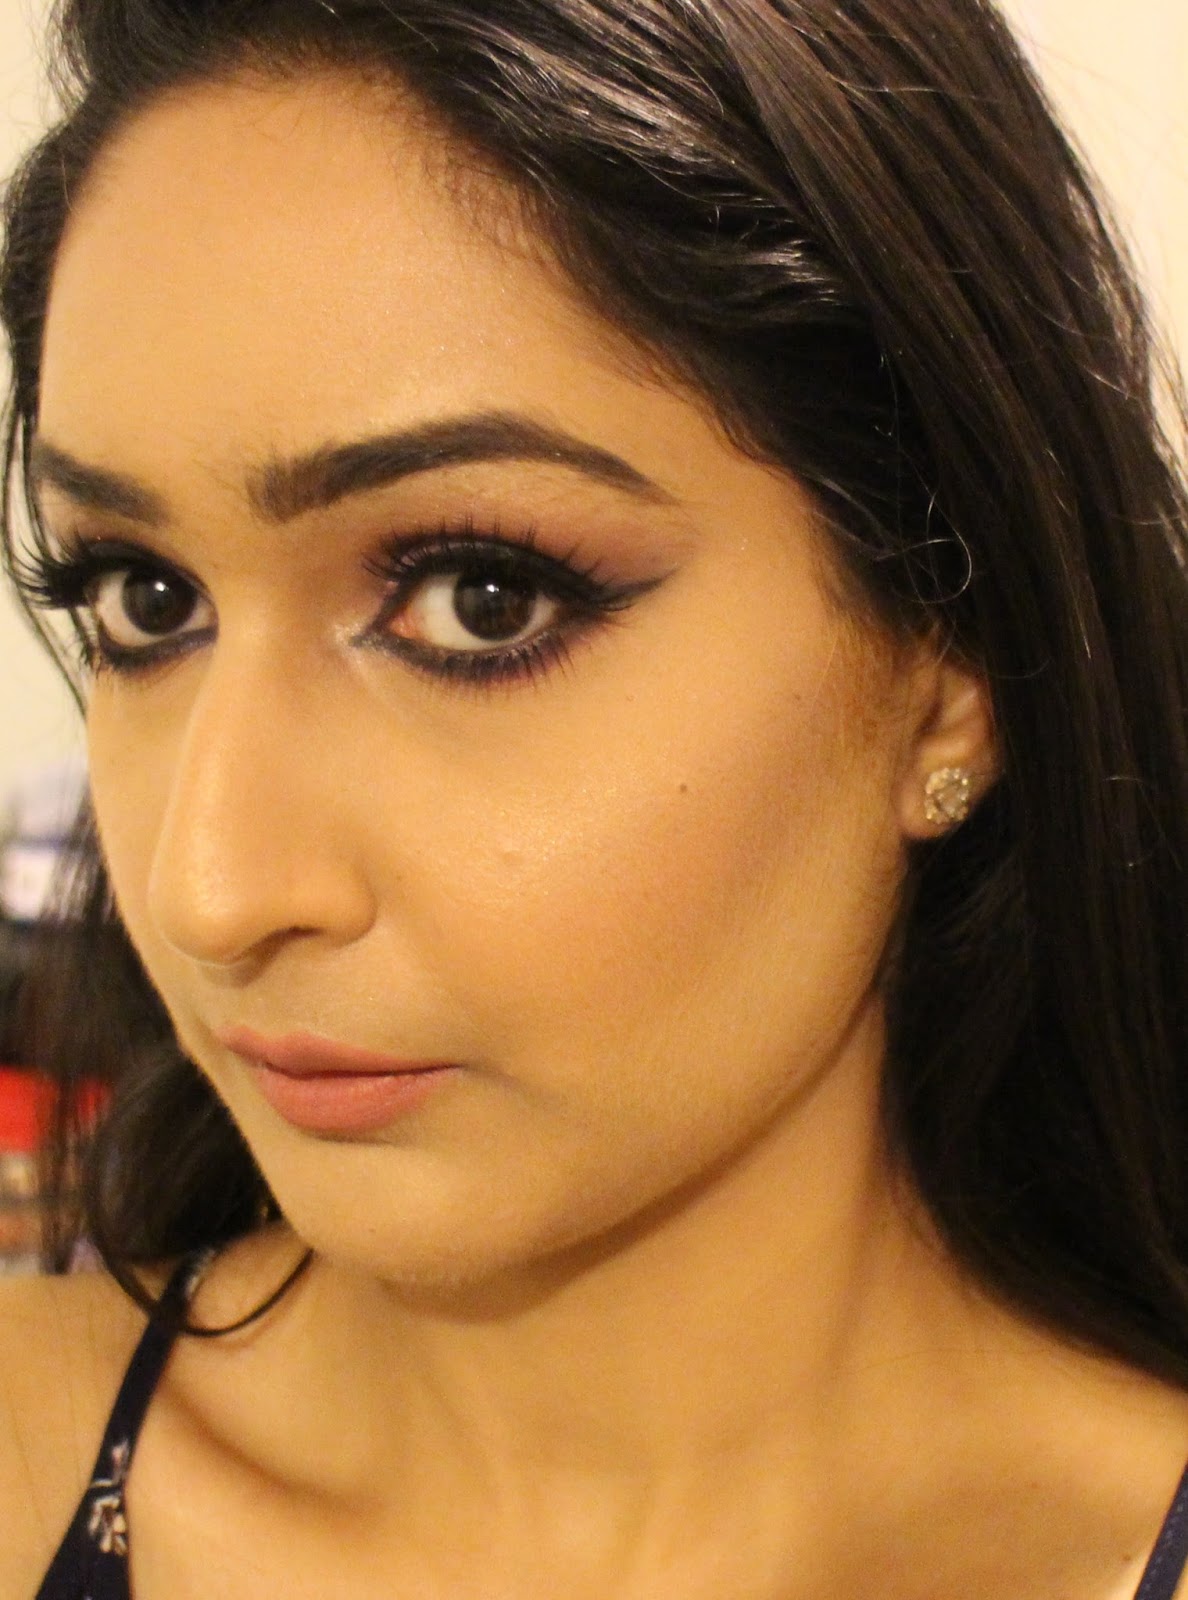
The texture of these lipsticks is very smooth. I feel as if I am applying water on my lips, it is that light. Then, it settles down to be matte in a few seconds. It feels a little sticky for a few minutes but after that it is all good on lips. It is light weight but still you feel that something is on your lips. I don't know how but it makes my lips look fuller which I love about it. May be because of these particular colors or what but I am loving this effect. The colors are so pigmented that it just takes one slide of the wand and you are good to go. These are quite transfer-proof and stays on the lips for a very long time. I am so much in love with these liquid lipsticks that I am planning to buy some more colors now. These are my current favorite.

   
   PROS
  • Gorgeous packaging
  • Light weight
  • Highly pigmented
  • Broad wand helps in applying the color in one go
  • Makes lips fuller
  • Long lasting
  • Quite transfer-proof
  • Beautiful colors for Indian skin tone
  • Cruelty free, no animal testing
  • Vegan
  
    CONS
  • Can't find one 

Overall View
Jeffree Star Velour Liquid Lipsticks have become my current favorite. I would definitely suggest you guys to have it. You will love it. These are just amazing. 


Rating
5/5 


With Love
Akanksha


Wednesday, 8 February 2017

Wedding Guest Look

Hey Everyone...

In this post, I am sharing the look which you can wear as a guest on a wedding. A lot of my friends recently got married and this post is specially for them. I kept the eye makeup not so complicated. Hope you all like this makeup look.

Procedure

Step 1 - Clinique Dramatically Different Moisturizing Lotion


Step 2 - MAC Studio Finish Concealer in NW35 as a corrector under the eyes and around lips.


Step 3 - Born This Way Foundation in Warm Beige. Click here for the review


Step 4 - NARS Radiant Creamy Concealer in Ginger for highlighting.


Step 5 - E.L.F Loose Powder in Corrective Yellow for baking. I placed it on the areas where I applied the concealer and kept it there for 10 minutes. 


Step 6 - Maybelline Master Brow Pro Palette in Deep Brown


Step 7 - Urban Decay Naked Palette


In Step 1, I applied the shade Naked all over my eye lids as well as crease area and blended it well.
In Step 2, I applied the shade Buck on my inner and outer corners of eyes and blended it well, even on the crease area.
In Step 3, I put the shade Half Baked in the center of my eye lids and merged the sides with the Buck eye shadow. I applied it on inner corners of my eyes also.
In Step 4, I made a winged line on my eyes using Maybelline The Colossal Liner.
In Step 5, I first applied the shade Naked on my lower lash line, followed by the shade Buck.
Completed the eye look by applying NYX Wonder Pencil in the shade Medium on my water line and Too Faced Better Than Sex Mascara on my upper and lower lash line.  

Step 8 - Kat Von D Shade and Light Contour Palette

Used the first shade from bottom


Step 9 - NYX Baked Blush in Pink Fetish


Step 10 - For powder highlight, I used the shade Satin Sheets from Too Faced Chocolate Bon Bon Palette.

Step 11 - MAC Girl About Town Lipstick

Step 12 - MAC Prep plus Prime Fix plus to set the makeup.

And with this, the look is complete. I kept the eye makeup simple as sometimes we don't get enough time to do complicated eye looks. 


I hope this look is useful for you all. Let me know in the comment section below. See you all in my next post.

With Love
Akanksha 


Thursday, 19 January 2017

Oversized Coat - Fashion Post

Hello Ladies...

I am in India right now and enjoying this cold weather with overcoats, mufflers, beanies and high boots ;). I miss wearing bright colourful clothes in Australia. We don't usually wear very colourful clothes in Winter season but why so serious haan? :D

Sharing one of my looks from India trip with you guys. Hope you all like it :)


I was looking for a long overcoat for so long and finally got this beautiful oversized piece in pink colour. Can't ask for more :p. I paired it up with a faux fur muffler (not sure if that's the right word for it. Please correct me if I am wrong) to give it a glam night look ;)


I wore a bright pink plain sweater beneath it for the colourful effect.


And styled the whole look with these sandals <3

Outfit Details

Overcoat - Zara (Aus)
Sweater - Rage (India)
Muffler - Famous Footwear (Aus)
Footwear - Betts (Aus)

Hope you liked this quick post. Lots of love to you guys.

With Love
Akanksha

Sunday, 1 January 2017

My Signature Look

Hello Lovelies...

Wish you all a very HAPPY NEW YEAR 2017. I wish this year brings happiness and success in your lives. Love you all 😘

Today, I am sharing my signature look with you all. It's really simple and includes only six products. You can say that it's my everyday look as I do it for my job as well as when I go shopping or some casual outing. I keep it very simple and neat. I change colors of my lipsticks and blushes according to my mood. But rest of the makeup is same πŸ˜‰


Products Used For This Look

Too Faced Born This Way Foundation - Warm Beige
MAC Select Sheer Pressed Powder - NC25
Rimmel London Scandaleyes Show Off Mascara
Maybelline Master Brow Pro Palette - Deep Brown
Maybeline Master Highlight Blush - Pink Rose
NYX Soft Matte Lip Cream - Cannes

Procedure

1. First, I put foundation on my well moisturized face like in picture below using my fingers.

And then I use Real Techniques Expert Face Brush to blend it out using patting motion.


2. After that I set my face, especially my under eye area, using a compact face powder to lock the foundation. I use a fluffy face brush for this step as I like sheer powder coverage.

3. Then, I fill in my brows and apply mascara on both upper and lower lashes. I do not apply any liner or kajal on my eyes.

4. Next, I apply blush on my cheeks and complete the look by applying lipstick/lip cream/lip gloss.

So, on regular basis, I do not go for contouring or highlighting. I like to use blush that has a little shimmer in it to give a healthy glow to my cheeks. 

And this is what my everyday/signature look is. So simple and I do it in 5 minutes only😜.

Sharing some more pictures with you all.


Hope you all enjoyed this post. Once again Happy New Year to you all. Lots of Love and good wishes from my side.

With Love
Akanksha

Saturday, 10 December 2016

Shimmery Lavender Eyes and Nude Lips Make-Up Look

Hello Beautiful Ladies...

This make-up look took a little longer time to get finished than it usually takes me to complete my make-up but the outcome is so beautiful that you all won't regret trying this. This make-up look will look best with fake eye lashes so do try to get them on. Else, you can always apply lots of mascara. If you wanna know how I did these purple eyes and whole look then keep on reading the post 😘


PROCEDURE

I started by grooming my eye brows using Maybelline Master Brow Pro Palette in the shade Deep Brown and then went to the eye make-up as I did not want any eye shadow fall outs on my base. So, following were the steps for eye makeup.

STEP 1 - I prepared my eyes for makeup by applying NARS Radiant Creamy Concealer in the shade Ginger all over my upper eye area. I then set it up using MAC Studio Fix in the shade NC30 so that the eye make-up stays for a longer time.

STEP 2 - From CHI CHI Choose Chi Chi Extravaganza Face Palette I used Medium Brown shade and applied it on my crease area and a little above that as I have hooded eyes. Then again on the crease area applied NYX Primal Colors Eye Shadow in the shade Hot Fuchsia. After that, I applied Totally Fetch color, which is a dark fuchsia color, from Too Faced Chocolate Bon Bons Palette again on my crease area to give depth to the fuchsia color as you can see in picture 1 and 2. I blended all the colors very well and it took me some time to blend all well.


STEP 3 - Coming to the eye lids, I applied Shimmery Lavender eye shadow from CHI CHI Palette all over them. 
Chi Chi Extravaganza Face Palette
Too Faced Chocolate Bon Bons Palette


STEP 4 - Then, using the darkest purple eye shadow from CHI CHI Palette, I made a V-Shape on the outer corners of my eyes. Using a blending brush, I blended that eye shadow on my outer corners as well as on my crease area. I reapplied and blended it till I got the desired pigmentation.

STEP 4 - I drew winged eye liner using Bobbi Brown Long Wear Gel Eyeliner in Black Ink.

I did my lower lash make-up after completing my whole makeup. But I will write the steps here only to complete the eye makeup steps.

STEP 5 - On my lower lash line, I first applied NYX Primal Colors Eye Shadow in Hot Fuchsia using a blending brush. Then, on inner 1/4th part, I used that Shimmery Lavender color from CHI CHI Palette and on the rest of the lower lash line, I applied Darkest Purple color from the same palette and smudged it well.

STEP 6 - I completed the eye look by applying the gel eyeliner on my waterline, followed by fake eye lashes.


Now coming to rest of the face...

STEP 1 - I well moisturized my face using a Rosehip oil, followed by MAC Strobe Cream. I applied the strobe cream all over my face.

STEP 2 - I primed my face using Smashbox Photo Finish Foundation Primer.

STEP 3 - As I have dark circles, I used L.A. Girl Pro Conceal Orange Corrector under my eyes and also around my lips area to color correct those dark areas.
STEP 4 - Next, I applied Too Faced Born This Way Foundation in the shade Warm Beige with the help of damp Real Techniques Miracle Sponge.

STEP 5 - Then I highlighted the areas that you can see in the picture below, using NARS Radiant Creamy Concealer in the shade Ginger and blended it well using damp sponge.
Under my eyes, center of forehead, bridge of the nose, cupid's bow, center of the chin and just under the cheek contour area.


STEP 6 - I contoured my cheeks, nose, forehead and jawline first using a cream contour stick i.e. NYX Wonder Stick Highlight and Contour Stick in Universal shade and blended it well using the same damp sponge. I just keep on patting the sponge over the areas. And over that, I used the shade Sombre from Kat Von D Shade and Light Contour Palette to powder counter the areas.

STEP 7 - I baked the areas where I applied the concealer using Chi Chi Real Minerals Finishing Powder. I kept the powder on for 10 minutes and then brushed it of using MAC Studio Fix in NC30. Meanwhile, I was doing the lower lash line makeup.

STEP 8 - For blush, I used two colors. First, I applied NYX Blush in Mocha and on top of that I applied NYX Baked Blush in Pink Fetish.

Left- Mocha, Right- Pink Fetish


STEP 9 - Now, from Too Faced Chocolate Bon Bons Palette, I took the shade Satin Sheets and used it as a powder highlighter. I applied it on my cheek bones, center of forehead, bridge of nose, cupid's bow and center of the chin.

STEP 10 - And here is the final step......The Lips. I lined and filled my lips with Essence Lipliner in the shade In The Nude. Then I applied Sephora Rouge Cream Lipstick in R61 and on top of that, i applied NYX Soft Matte Lip Cream in Stockholm.

So, here is the complete look...


I hope you all like this tutorial and will try it out soon. Let me know what you think about it πŸ˜‰. See you guys in my next post. Till then, take care πŸ™‹

With Love
Akanksha